
The Rig
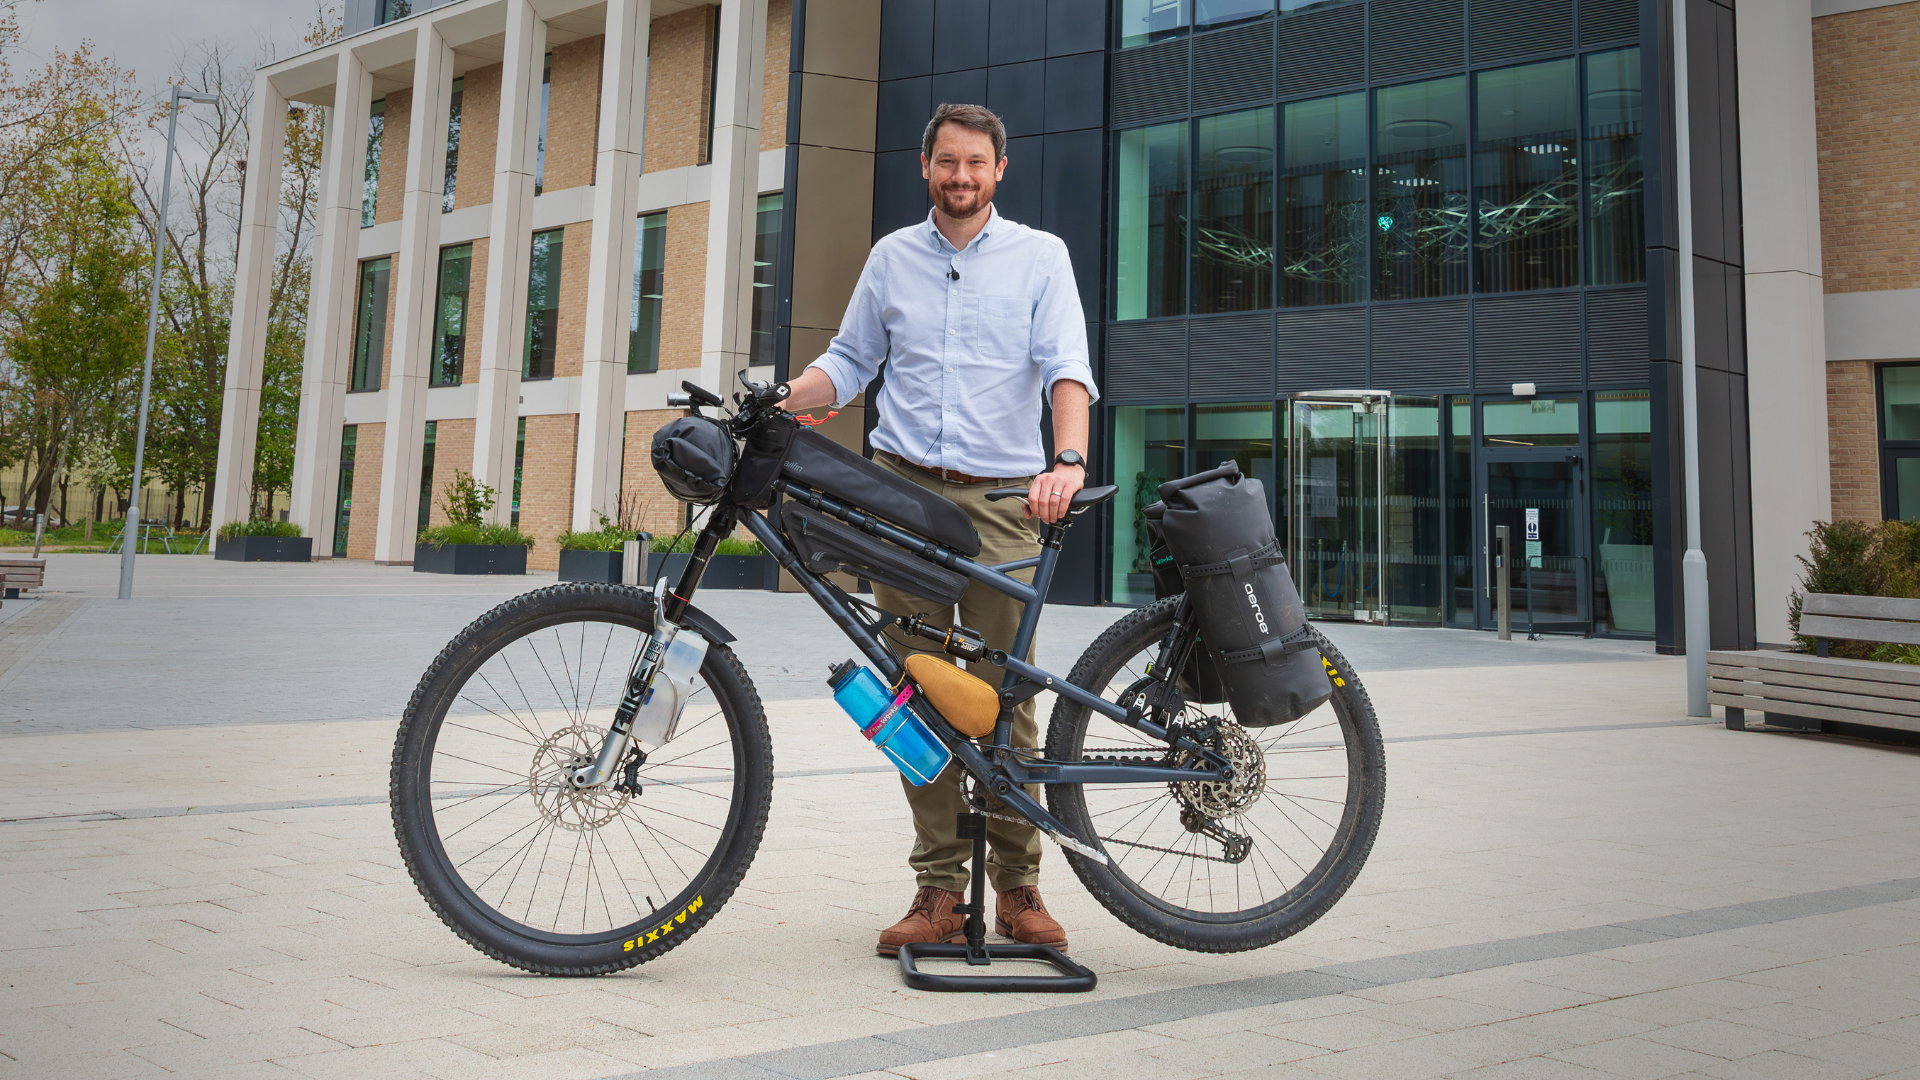
I’ll be the first to admit that I’m a bit of a gear geek. There’s something therapeutic about getting into the garage, working on the bike, and obsessing over the right setup. During a media session at work, my colleague Stephen Candler snapped some great shots of the bike fully loaded up. I wanted to share the current rig for anyone interested in the technical side, but also because seeing it all together makes the reality of the 'Break the Cycle' challenge feel very close now.
The Bike
Frame - Cotic Flaremax gen 4 size XL (Slate Grey), 125mm rear travel, “mullet” setup (29” front / 27.5” rear) with a Works Components angled headset
Fork - Rockshox Pike Ultimate, 140mm travel
Shock - Cane Creek DB IL
Wheels - DT Swiss XM421 rims on Hope Pro4 hubs
Tyres - Maxxis Forekaster MaxxTerra EXO (front), Maxxis Ikon MaxxSpeed EXO (rear)
Cockpit - Burgtec Ride Wide Alloy Enduro bars 31.8mm clamp 30mm rise, Burgtec Enduro MK3 stem 35mm reach, ODI Reflex grips, SQlab 411 Innerbarends, Crane Mini Suzu bell
Brakes - Shimano SLX 4 pot brakes , 203mm rotor (front) / 180mm rotor (rear)
Drivetrain - Shimano SLX 12 speed drivetrain, 10-51t cassette, 32t oval Works Components chainring
Dropper - Oneup 180mm dropper, Aenomaly Constructs SwitchGrade saddle angle adjuster (very cool bit of kit from Canada)
Pedals - Crankbrothers Stamp 7 in large (i’m a flat pedal rider)
They say “the best bike is the one you already have”. I’ve had my Cotic Flaremax for a good couple of years now, and I’ve optimised it as a do-it-all trail bike, from local loops around Oxfordshire to the spicy technical trails of Forest of Dean. This setup may not be a natural choice for a long-distance bike packing trip, but I love the comfort and handling of this bike, and it will be perfect for those long, rough, chattery descents.
When I first started planning the trip I reached out to the good people at Cotic Bikes for some advice. Paul at Cotic is always great to talk to; he reassured me that I had a good tool for the job, and steered me to the right tyre choice.

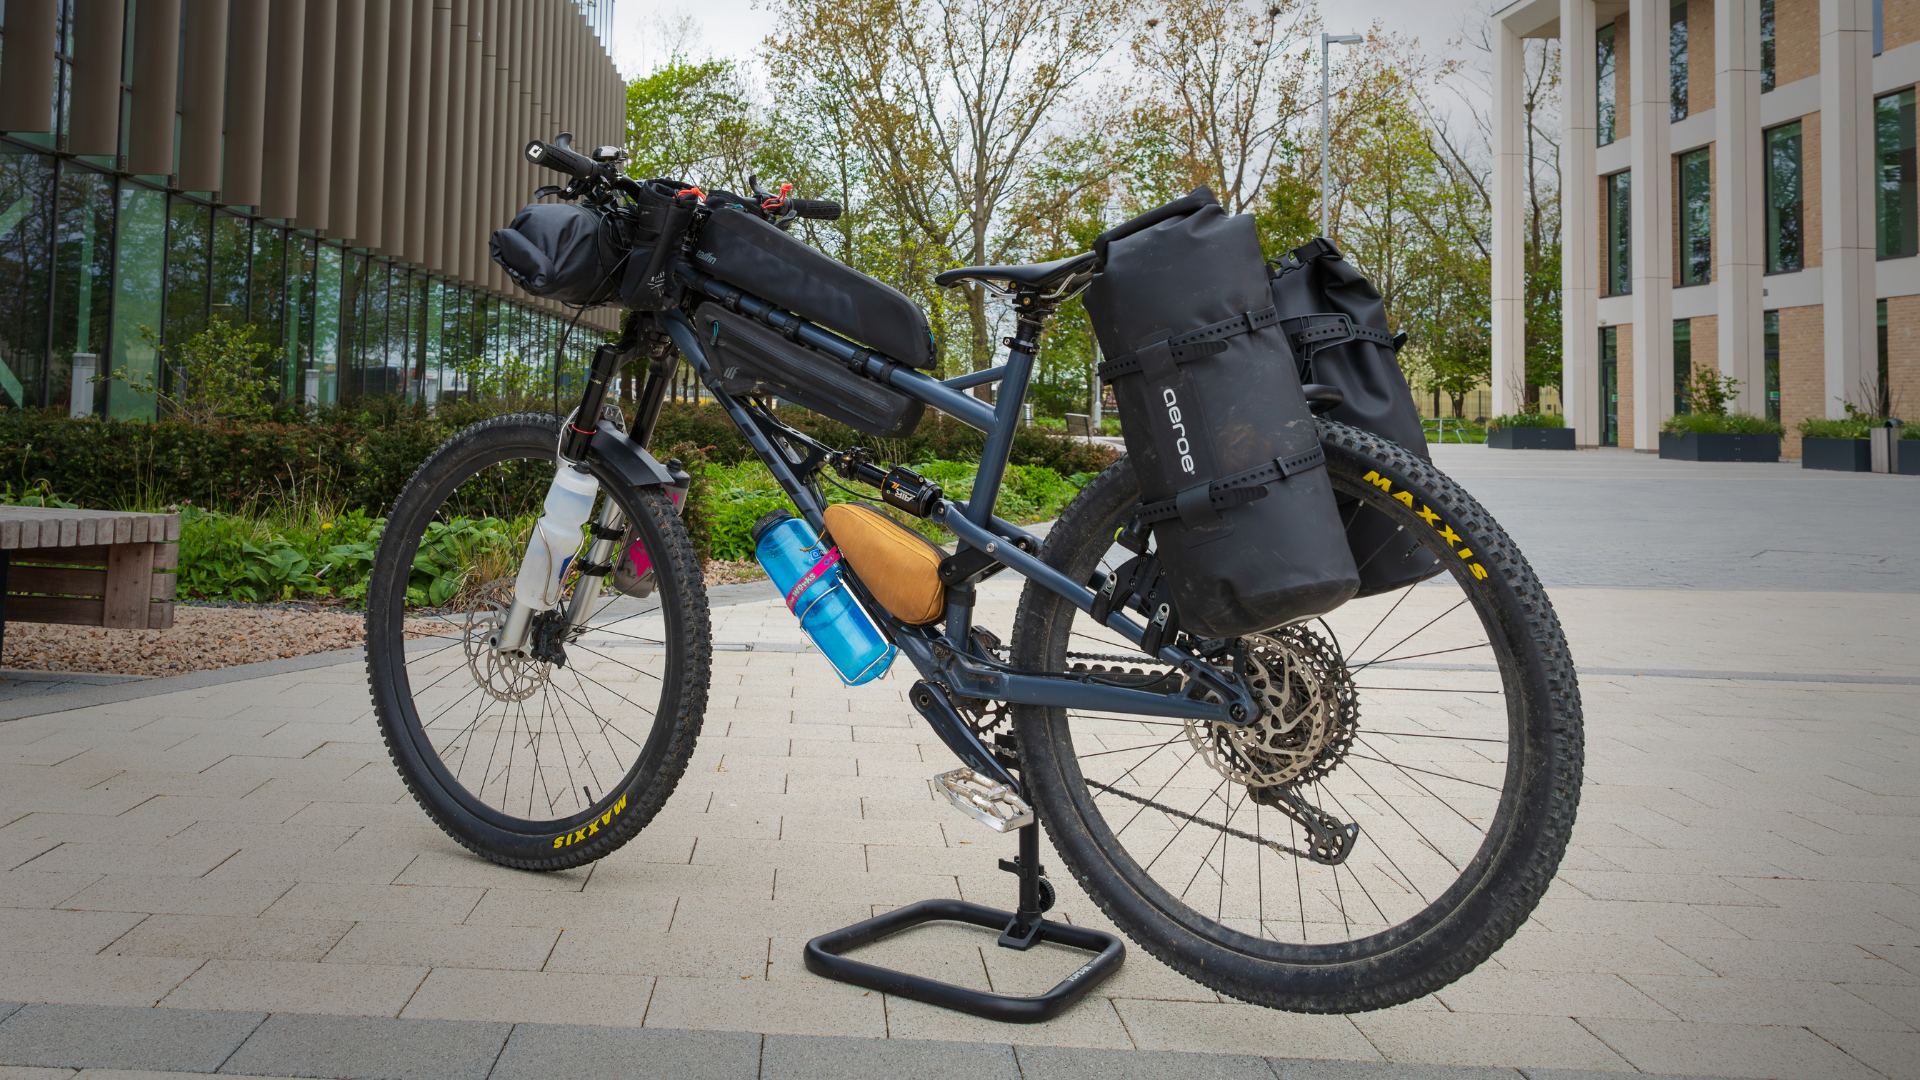
Racks, Bags & Mounts
On the bars - Tailfin Bar Cage and medium 11-litre dry bag, two Restrap Race Stem Bags connected to a drj0n bagworks DeWidget Double Dangler under the stem cap, Garmin Edge 830 bike computer, Exposure Joystick Mk17 light
On the forks - Tailfin Suspension Fork Mounts, with King Iris stainless steel bottle cages mounted each site, Specialized Purist 750ml bottles
On the front triangle - Tailfin 2.2-litre Long Top Tube Bag, Tailfin 2.3-litre Half Frame Bag, Evoc 1.7-litre medium Multi Frame Pack, Velo Orange Mojave stainless steel bottle cage, Nalgene Wide Mouth 1.4 litre bottle
On the rear - Aeroe Spider Rear Rack with two craddles and two Aeroe 12-litre Heavy Duty Dry Bags, Oneup 70cc EDC Pump mounted to the rack using drj0n bagworks Limpet clamps
Getting this one right has been a bit of a head-scratcher. My first shakedown ride across the Ridgeway in South England really helped to refine the setup. Originally, I had two 5-litres bags mounted to the fork and a single 12-litre dry bag on the rear. I wanted to take full advantage of having a full-suspension bike, so I made no apologies for sending it down rough bridleways and single track.
However, the shakedown ride revealed some issues. The weight and solid profile of the cooking kit up front moved around too much on rough terrain, and the centre-mounted rear bag was contacting the saddle and tyre on heavy compressions.
This reinforced the importance of testing the kit and setup before the big ride. I’ve now switched to two rear 12-litres dry bags mounted either side of the Aeroe rear rack for more stable storage, moving the water bottles to the fork mounts. This setup still needs to be tested “in anger” on the next training ride.
Inside the Bags
Fork bag - Tent, waterproof jacket, waterproof trousers, windproof gilet
Stem bags - Snacks, fluids
Top tube bag - Power bank, cables, electronics, snacks
Top frame bag - Toiletries, towel, medical supplies, shock pump, pressure gauge
Bottom frame bag - Bike tools and spares
Rear bag one - Sleeping bag, sleeping bag liner, sleeping mat, insulated jacket
Rear bag two - clothes, cooking kit, coffee brewing kit, food
This only scratches the surface of the detail that goes into planning for a trip like this. There’s a strange kind of peace in obsessing over the setup, making sure you have just enough kit and getting the weight distribution right. But as I’m planning out the route details and getting closer to day one, I’m reminded that there is so much more to prepare - logistics, fitness, and mindset.
A massive thanks to Tom Hill (@24tom) for the advice on getting this rig dialled in. I’ve never done anything like this before, and it’s a bit overwhelming when you start, but having a community of riders to reach out to makes a massive difference. It has filled me with a bit more confidence for the challenge ahead.
If you can, please take a moment to share this post or head over to the donate page to support Tough To Talk. Every pound raised helps break the silence that leads to suicide, and every share helps us reach one more person who might need to hear they aren't alone in their struggle.
Cheers, Sam.